The pump I got was the stainless chugger pump.

Next, the toolbox. This was just a random toolbox that was the right size for what I was looking for. I could have gone with something smaller but I wanted it to hold the majority of my brew day stuff so I can decrease the amount of space all my stuff was taking up.


As you can see, the side (where the pump head will sit) is not completely flat. However, the flat part in the center is just big enough for the pump head and housing to sit flat on.
Next, I took a 1x4 and mounted the pump on it. This serves two purposes. One, if I want to change the orientation of the head, without it hitting the ground, I can. Two, if I want to add a bend for a priming valve of something of the like I can without issue. Added bonus, not scraping my knuckles on the ground attaching the quick disconnects.


After marking the hole I chose a 2" hole saw to get the job done. The magnetic drive was just shy of two inches but the housing attached to the outside will seal that up.

The hole saw made quick work of the plastic, and I was ready to go. The rough looking edges are from me sanding the extra plastic off and making everything nice and smooth.

After that I put the drive through the hole and set it where I wanted it permanently mounted. Made some quick markings and drilled the appropriate holes out with a step bit. I made them bigger than necessary to easily accommodate the mounting screws without too much fuss. Put the pump back inside, screwed everything back together and voila!

As you can see I got a little ambitious with the step bit. I just covered that up with a bit of electrical tape, good to go! After that, I hooked my pump up to my 3 prong outdoor weather resistant remote control and plugged that into my extension cord with my gfci plug (not shown, picking it up today!)


The remote makes it super easy to turn the pump on and off without having to even touch it. Although, I cannot take credit for this idea. I found this amazing tip from my favorite brewing resource Homebrewtalk. Really works well.
Done! This pump box is amazing here is a shot of it in action and me determining my system losses.


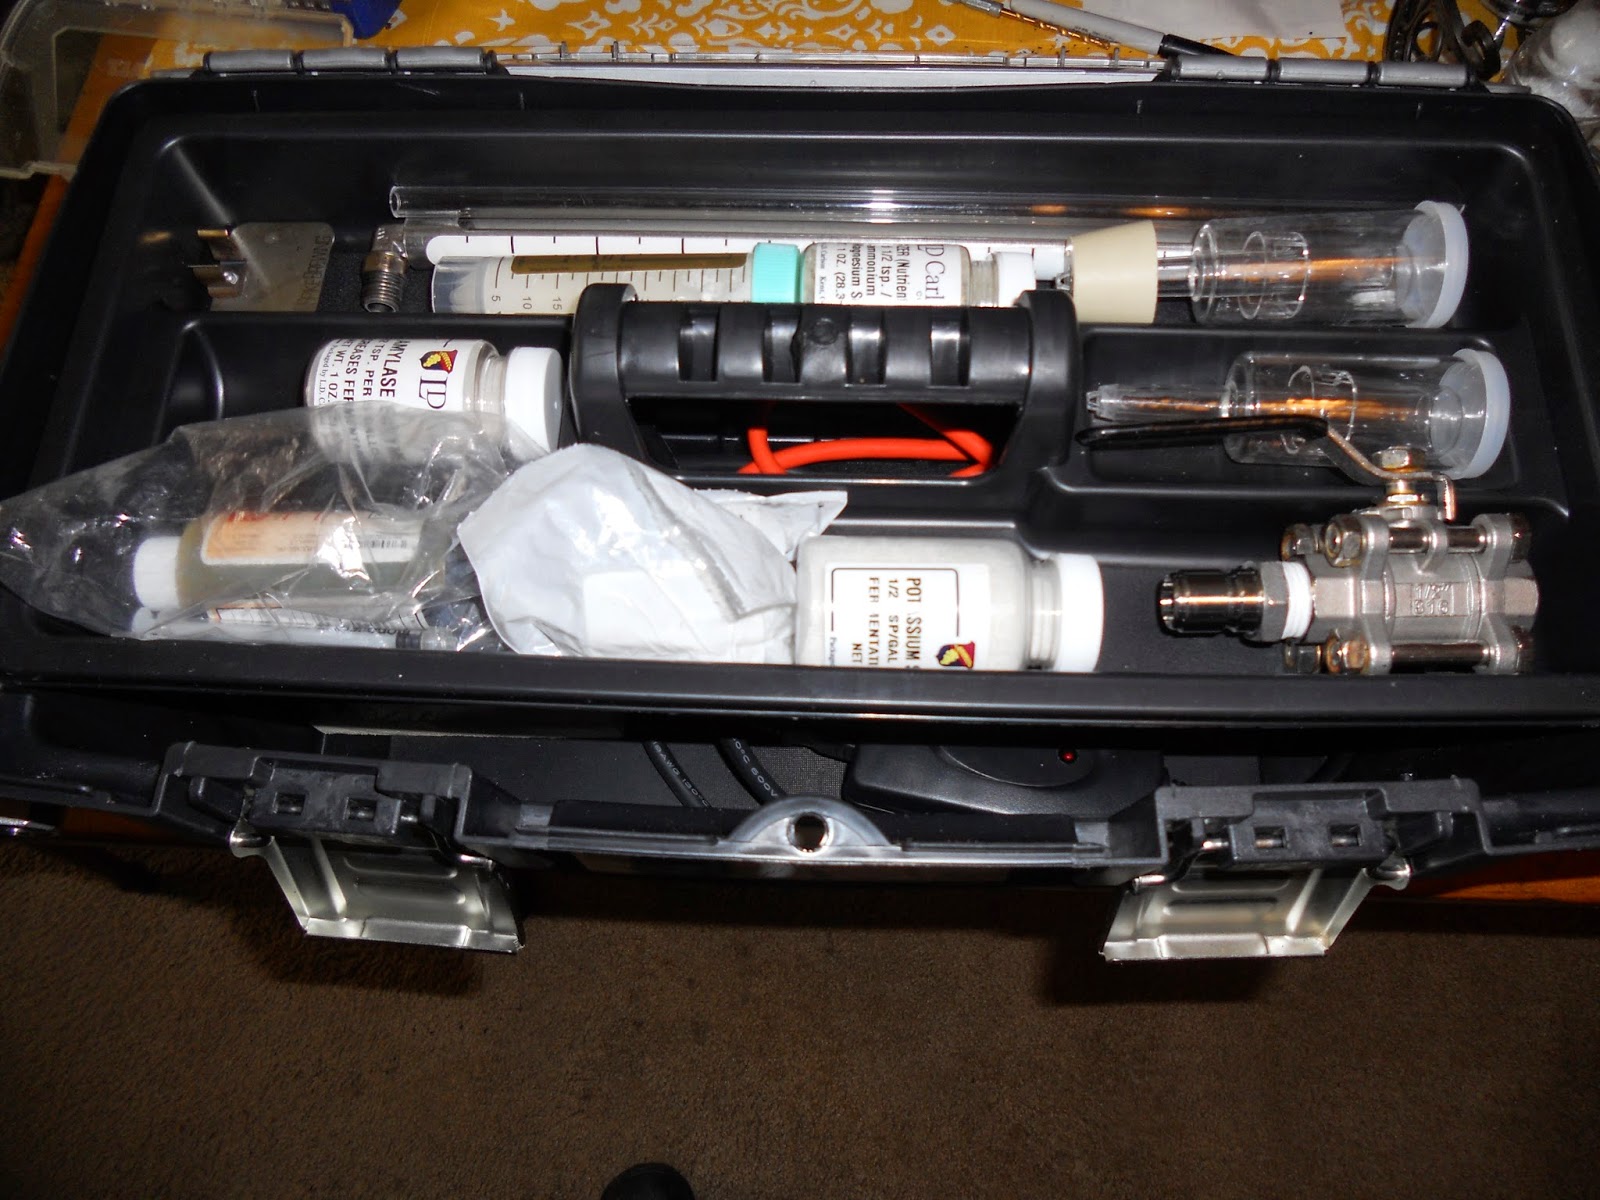
As you can see it holds just about all of the small stuff I need for my brew day. As well as some other things I didn't expect. All in all it was well worth the effort. Testing performed flawlessly. All ready for my quick disconnects. Can't wait to use it.
Thanks for your patience on the first real post, and thank you even more for visiting my blog!
Cheers!